
Let’s Refresh This Apple M1 MBP
Refurbishing Update – Keys, Touch bar and Screen – Images being prepped
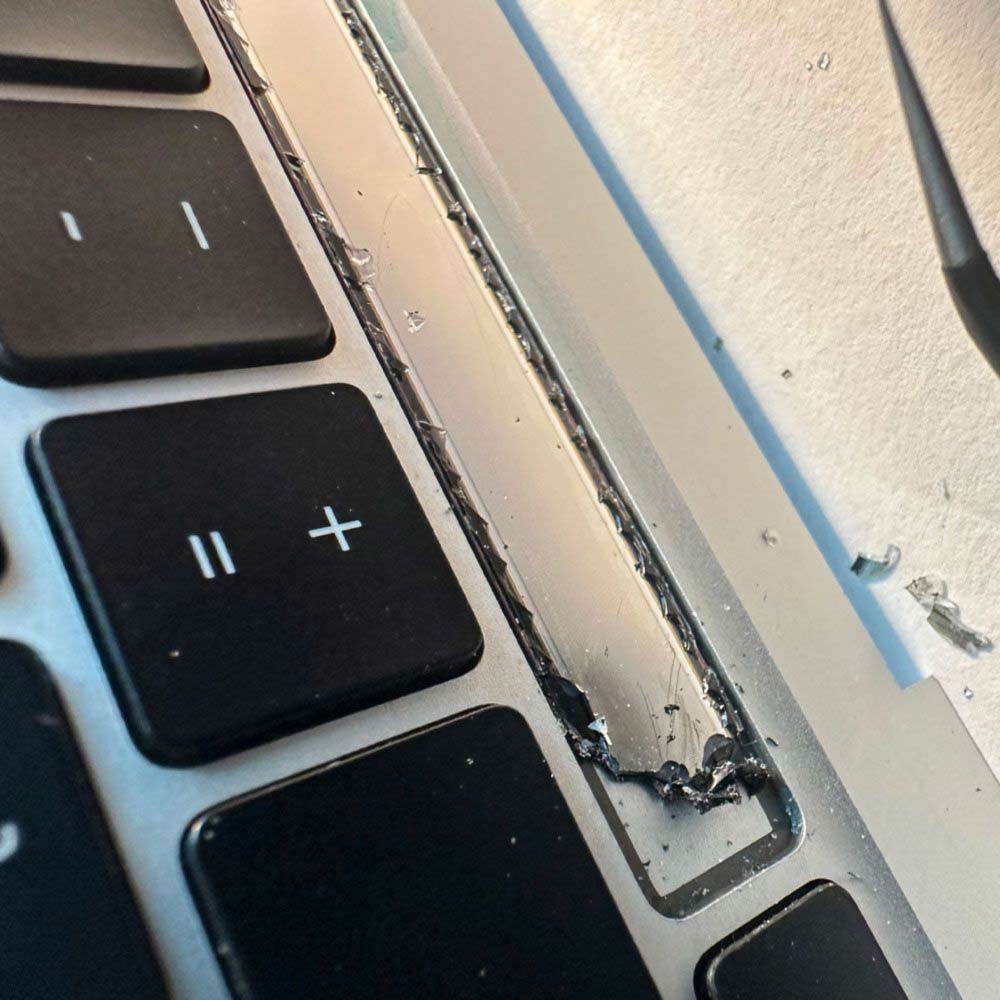
M1 Mid-2020 Refurbishing process – Keys, Touch bar and Screen
Not recommended, but if you’re in a pinch, there is a way to continue with the M1 rebuild without purchasing a new M1 upper and/or M1 full assembly. A reminder, I should mention the Apple Self Repair help and Parts/Catalog. All links are handy to have in a pinch.
Blocker and Resolution
An all-in-one post was supposed to be the next article in this series. However, it will be split into two separated articles as continuation of the M1 rebuild process. One will focus on the screen and keys, while the other will cover the touch bar repair. Since the touch bar repair is quite invasive, it makes more sense to address the screen and keys separately and then tackle the touch bar in another post. That will result in a lengthy post, as you can imagine.
Where are the future posts, today? Funny you asked, as I’ve got most, if not all 25 plus images ‘in-process’ – size, color, lighting etc. For all intents and purposes, the story line is complete. The pre-post work is also complete at this point. I think there were around 50 steps to remove, replace, and install the touch bar, so we will make it as streamlined as we can. More to come, check back in a few days, as we should have the post ready to go.
Jump Ahead
Okay, let’s fast-forward, now that the series has come to the conclusion. With that we got that out of the way, you can continue the journey from start to finish here with some helpful links: 1. Self Repair, 2. Visual Inspection & Teardown, 3. Screen & Keys and 4. Touch bar.